This guide takes you through the basic steps to set up a server, using Ubuntu 18.04, and installing Go, the programming language used by many transports and libraries. Once you have this server built, it can be used as a basis for installing PT libraries and tools, such as Shapeshifter and Stegotorus.
These steps are adapted from Digital Ocean’s Initial Server Setup guide, and assume you have configured your server with root access via your SSH key.
Basic server setup
First, log in to the server as root. If you are doing this from a remote machine, use the command:
ssh root@yourserver
Next, you will create a user with sudo access, to allow that user to perform admin tasks. We’re going to use the name plug.
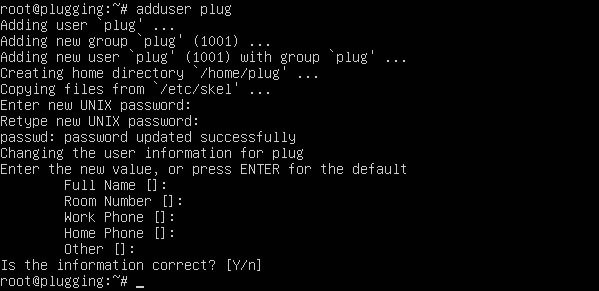
adduser plug
You will need to create a password, then enter some information (or leave it blank).
The next command adds your user to the sudo group, which allows them to run commands as root:
usermod -aG sudo plug
Now copy your root SSH config to the new user.
rsync --archive --chown=plug:plug ~/.ssh /home/plug
The next step is to add a basic firewall, allowing OpenSSH traffic so that you can continue to log in with SSH. Use this command to see what applications can be set up:
ufw app list
You should see a response like this:

The next three commands will: add OpenSSH to the firewall; enable it; show that it is enabled.
ufw allow OpenSSH
ufw enable
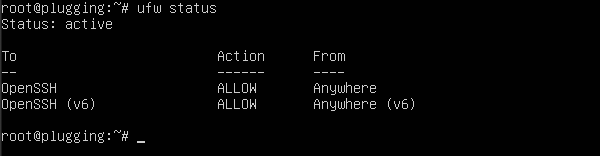
ufw status
The final command should give you this response:
You should now log out of the root account and log in as your sudo user to make sure it is configured correctly. You may now want to disable root access, so that only your sudo user is able to issue admin commands, and also disable password authentication so that only SSH access is accepted. To do this, use the following command:
sudo nano /etc/ssh/sshd_config
The values below will disable the root user, and allow SSH authentication only:
PermitRootLogin no
PasswordAuthentication no
Installing Go
Go is available from the web site https://golang.org. At the time of writing, the most recent version is 1.14. You will need to download and install the correct version of Go for your operating system, and then configure its environment. For more information on Go, visit the page Implementing in Go.
curl -LO https://dl.google.com/go/go1.11.4.linux-amd64.tar.gz
sudo tar -C /usr/local -xzf go1.11.4.linux-amd64.tar.gz
The next step is to set up the Go environment, adding it to your profile with the command:
nano ~/.profile
You should append these lines to the end of the file:
export GOPATH=~/go
export GOBIN=$GOPATH/bin
export PATH=$PATH:/usr/local/go/bin:$GOPATH/bin
Use Ctrl-X to exit the editor, and answer Y to save the file. To create the path for Go to store its files and make the new paths effective immediately, run the commands:
mkdir ~/go
source ~/.profile
We set the value of GOPATH to ~/go. This means that Go will put its source code into ~/go/src and compiled programs into ~/go/bin.
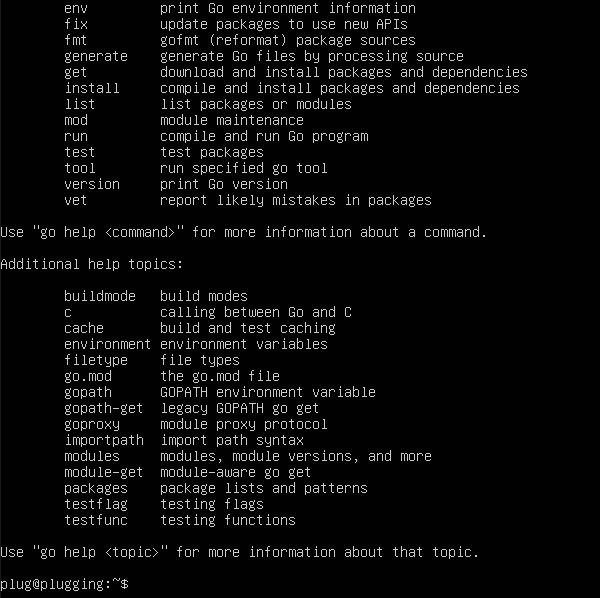
To check that Go is installed, type the command go, and you should see information about how to use Go: